What Is the Rule of 3 in Flooring? A Denton, TX Homeowner’s Guide
If you’ve ever shopped for flooring, you’ve probably felt the pressure: hundreds of colors, “lifetime” warranties that don’t read like lifetime warranties, and quotes that vary by thousands of dollars. The rule of 3 is a simple, practical framework Denton homeowners use to cut through that noise. It helps you compare the right things—not just the sticker price—so you end up with a floor that looks great, performs in North Texas conditions, and doesn’t surprise you after install day.
A practical framework for choosing the right floor by comparing three options in the places that matter most: cost, materials, and installation details.
What Is the Rule of 3 in Flooring (and Why Denton, TX Homeowners Use It)
In flooring, the rule of 3 means you compare three options in each major decision category before committing. It’s not about creating extra work—it’s about building enough context to spot risks, identify value, and make a confident choice.
The Rule of 3 (Flooring Edition)
- Three bids (price and scope)
- Three material candidates (performance and style)
- Three installation details confirmed in writing (prep, timeline, warranty)
Why does this matter in Denton specifically? Because local realities shape performance. Between heat, humidity swings, and high-traffic homes (kids, pets, backyard hangouts, muddy shoes during storms), you’re not just buying a surface—you’re buying a system. The rule of 3 keeps you from deciding based on a single showroom sample or one “too-good-to-be-true” number.
Think of it this way: one quote can hide missing line items, one sample can hide undertones, and one installer conversation can hide assumptions. Three comparisons make outliers obvious.
The Rule of 3: A Simple Definition for Flooring Decisions
At its core, the rule of 3 is a decision safeguard. It creates a small “market reality check” so you can answer three questions with clarity:
- What should this project cost when the scope is truly the same?
- Which material fits my real life (not just my Pinterest board)?
- Will the installation be done in a way that prevents failures like cupping, gapping, squeaks, or cracked tile grout?
When you apply the rule of 3, you’re looking for patterns. If two quotes include subfloor leveling and one doesn’t, that’s a signal. If two LVP samples have a 20 mil wear layer and the one you loved is 6 mil, that’s a signal. If one installer promises “we can start tomorrow” without measuring moisture or discussing acclimation, that’s a signal.
Why three?
Two options often feel like a coin flip. Four or five can create decision fatigue. Three is the sweet spot: enough data to compare, not so much that you stall.
Step 1: Get 3 Flooring Quotes (and Make Them Apples-to-Apples)
Most “flooring quote confusion” comes from comparing incomplete numbers. One contractor might include demo and haul-off; another assumes you’ll handle it. One quote includes underlayment and transitions; another lists only product and labor. Your job is to make the scope consistent so the price comparison is meaningful.
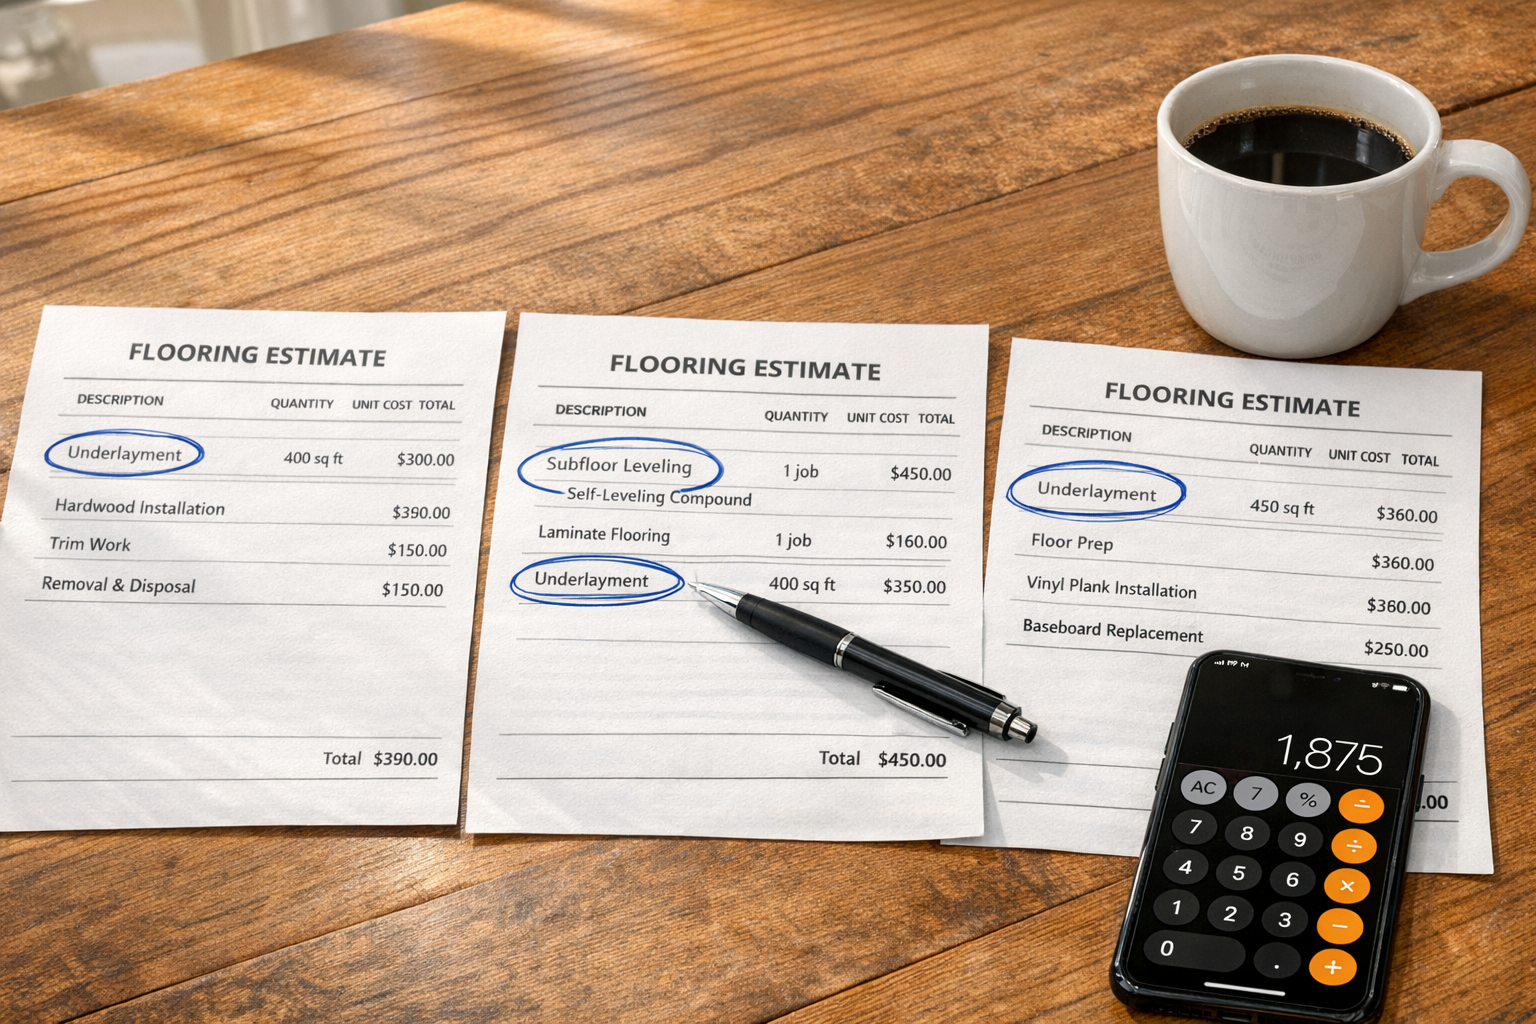
What a “real” written quote should include
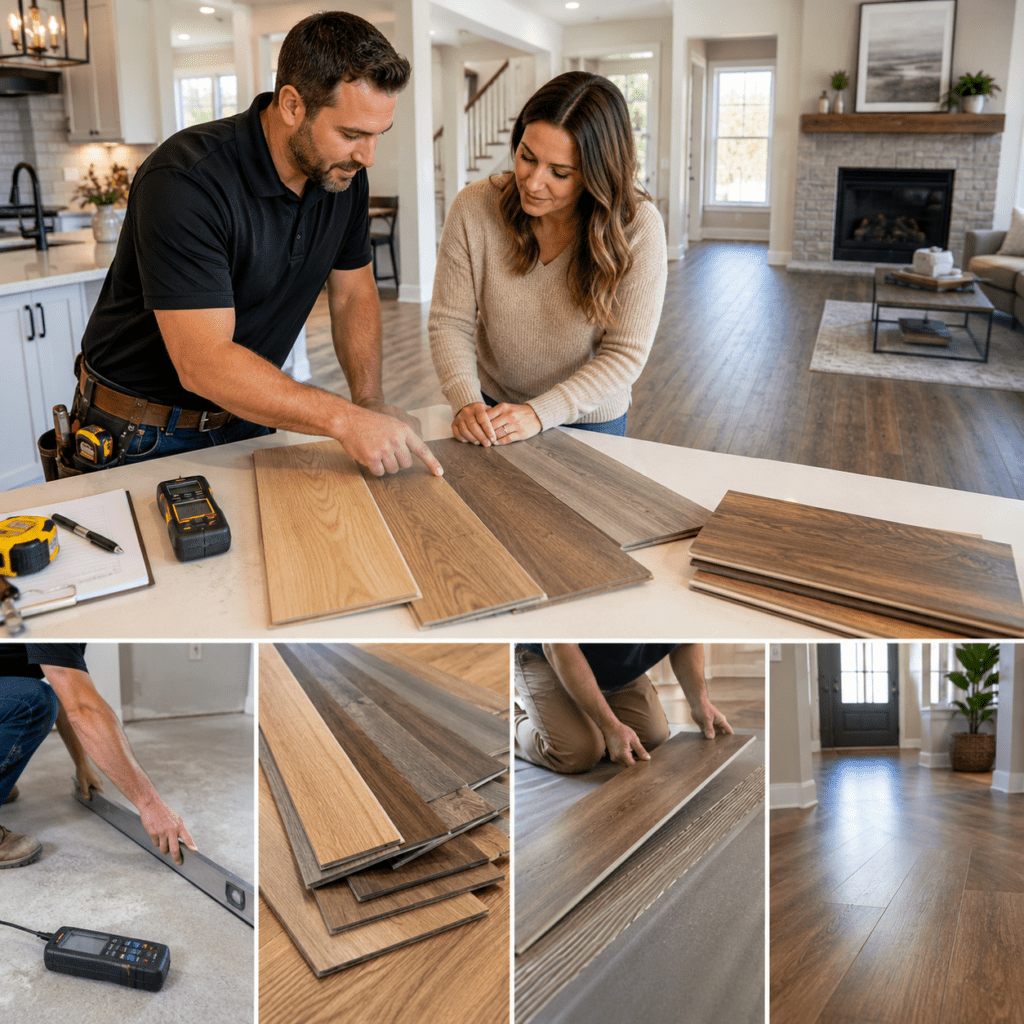
Ask each contractor for a written quote that clearly lists:
- Square footage and which rooms are included
- Exact product details (brand/line, thickness, wear layer for LVP, species/finish for wood, tile size and grade)
- Underlayment type and whether a vapor barrier is included
- Transitions (T-moldings, reducers, stair noses) and where they’ll be placed
- Baseboards/quarter round (remove/reset, replace, paint/caulk responsibilities)
- Demolition and haul-off (old flooring removal, disposal fees)
- Subfloor work (leveling, patching, replacing damaged sections, moisture mitigation)
Ask for exclusions—because that’s where surprise costs live
Have each bidder state what is excluded. Exclusions often include moving furniture, appliance handling, floor leveling, moisture mitigation, and staircase work. In Denton homes, slab conditions and older subfloors can vary widely; excluding prep can make a quote look lower while increasing your risk later.
| Line item | Why it changes your total cost | What to ask |
|---|---|---|
| Subfloor leveling / patch | Even small low spots can cause LVP click-joint separation, hollow sounds, or tile lippage. | “What flatness standard are you installing to, and how is leveling priced?” |
| Moisture testing / barrier | Slab moisture can void warranties and cause adhesive or plank failures. | “Do you test moisture, and what happens if readings are high?” |
| Transitions & trim | Skipping proper transitions can lead to edge damage and a visibly unfinished look. | “How many transitions are included, and what profiles?” |
| Demo & haul-off | Disposal and labor can be a meaningful portion of project cost. | “Is removal included? What about haul-off and dump fees?” |
Compare timelines and crew availability (not just price)
If you’re flooring kitchens, hallways, or a whole home, timing affects your daily life. A bid that’s $800 lower may not be the “best value” if it means living out of boxes for two extra weeks, or if the schedule forces a rushed install. Ask each contractor:
- When can you start, and how many working days will the project take?
- How many installers will be on site each day?
- Will the same crew return daily, or will it rotate?
- How do you handle delays (materials, leveling time, moisture mitigation)?
Quote Rule-of-3 Goal
When you line up three written quotes with the same scope, you should see a “cluster” of realistic totals. Any number far above or below the cluster is your cue to investigate—either it’s missing scope, or it’s pricing risk into the job.
Step 2: Compare 3 Flooring Materials That Fit Denton Living
Once you understand realistic pricing, it’s time to pick your top three materials. Don’t start with “what’s trending.” Start with your home’s traffic, moisture exposure, and how you want the space to feel underfoot.
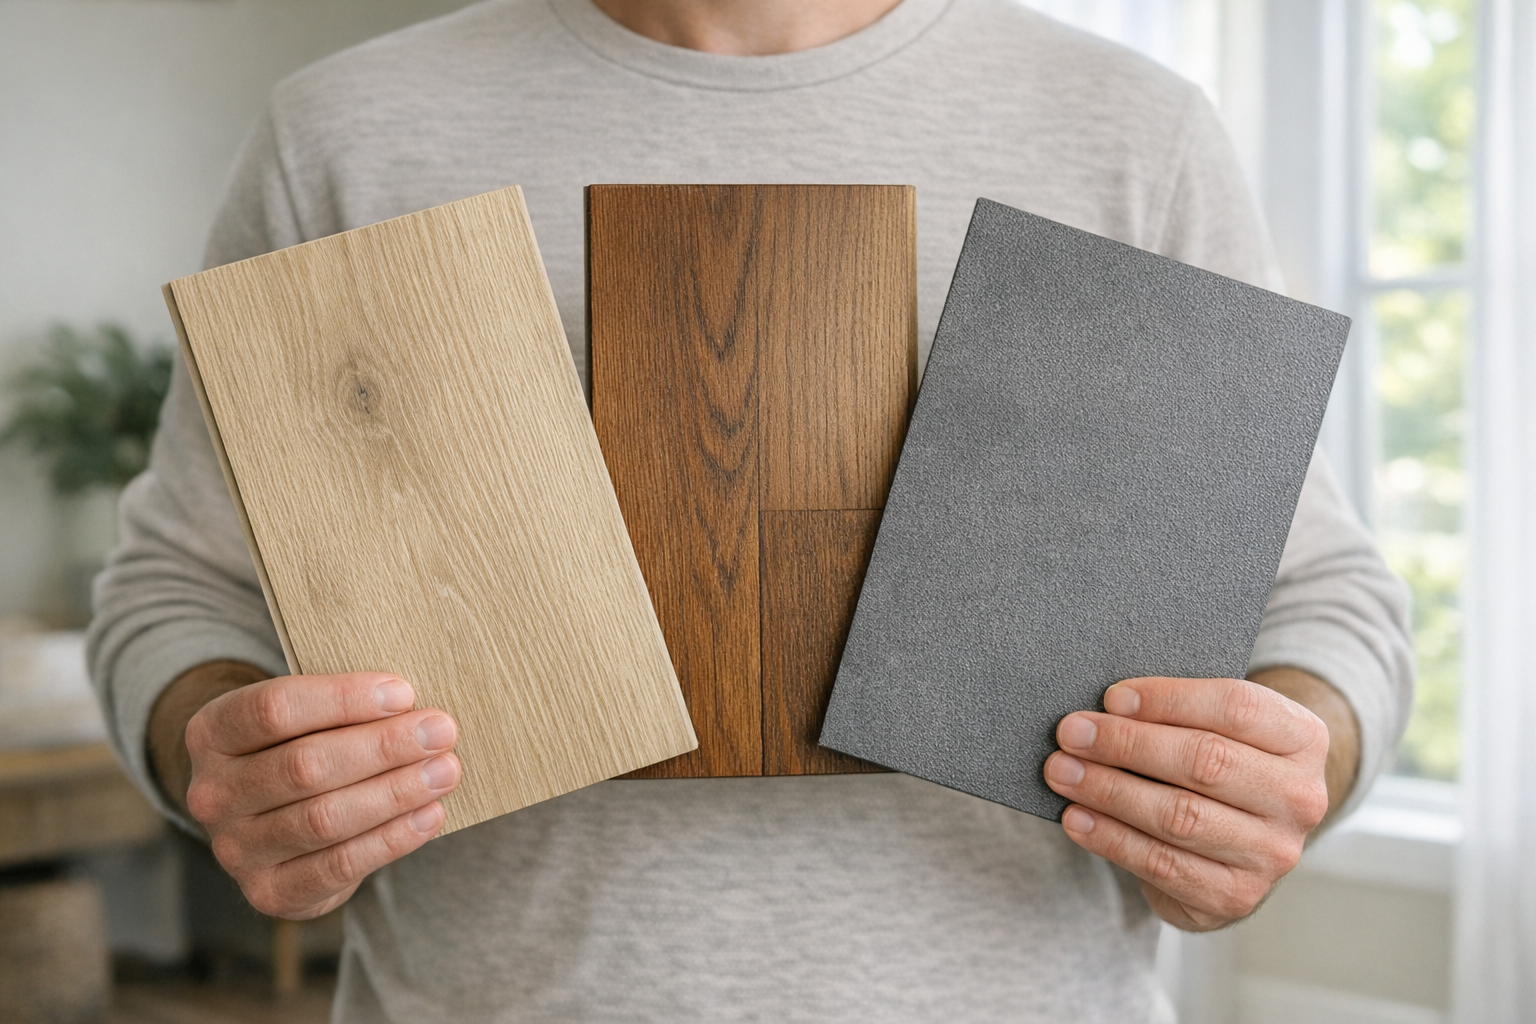
A practical “top 3” set for many Denton homes
Many Denton homeowners find their best comparison set looks like this:
- LVP (Luxury Vinyl Plank) for high-traffic living areas and busy households
- Engineered hardwood for warmth, comfort, and resale appeal
- Porcelain tile for wet zones (entries, baths, laundry) and maximum durability
How to evaluate durability in real terms (not marketing terms)
When you’re comparing three materials, pick three measurable performance checks. Here are the ones that consistently predict long-term satisfaction:
1) Wear and scratch resistance
- LVP: Compare wear layer thickness (often 12 mil, 20 mil, etc.) and surface finish. In active homes, a thicker wear layer can be worth it.
- Wood: Ask about finish system and real-world dent resistance. Species hardness matters, but finish quality matters too.
- Tile: Check the PEI rating for the tile body and recommended use (residential floor vs. wall tile).
2) Water and moisture tolerance
“Waterproof” can mean different things depending on the product and install method. Focus on:
- Where water could sit (entries, pet bowls, laundry, bathrooms)
- How seams are protected (click-lock system, edge treatment, grout/caulk strategy)
- Whether the warranty requires specific underlayment or moisture barriers
3) Maintenance and repair reality
Ask yourself: when something goes wrong, what will you actually do?
- LVP: Easy daily cleaning, but plank replacement depends on layout and locking system.
- Engineered wood: Gorgeous, but scratches may require touch-up kits; refinishing depends on wear layer thickness.
- Tile: Very durable, but grout needs sealing/cleaning and cracked tiles require skilled replacement.
Lighting tip: A sample that looks “neutral” in a showroom can skew pink, green, or gray at home. Bring your three finalists home and view them in morning daylight and evening indoor light before you commit.
A fast at-home sample test
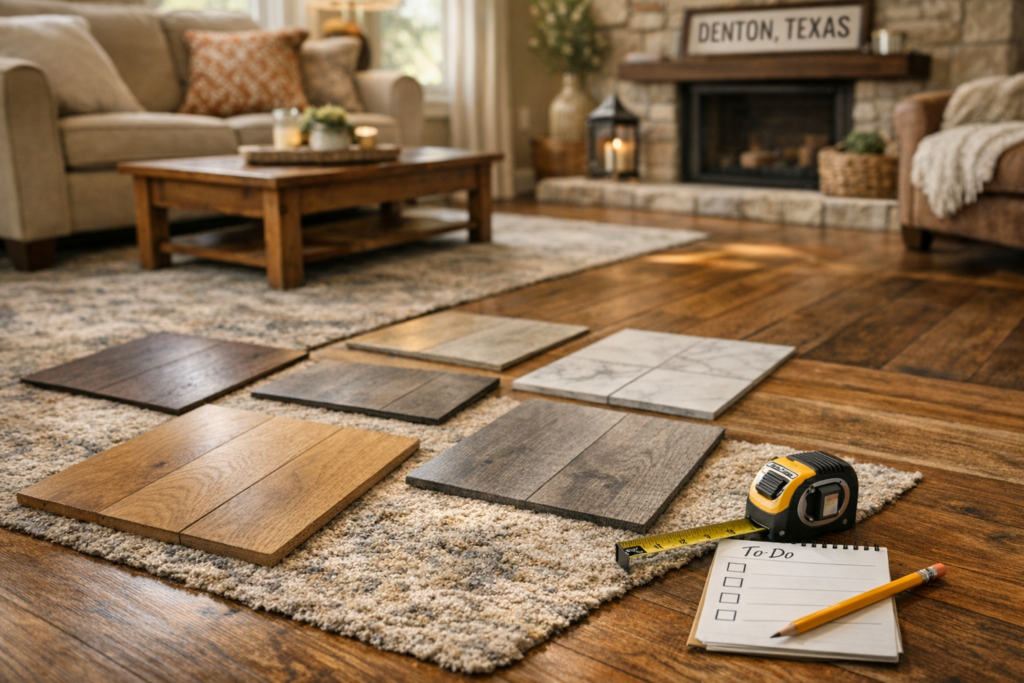
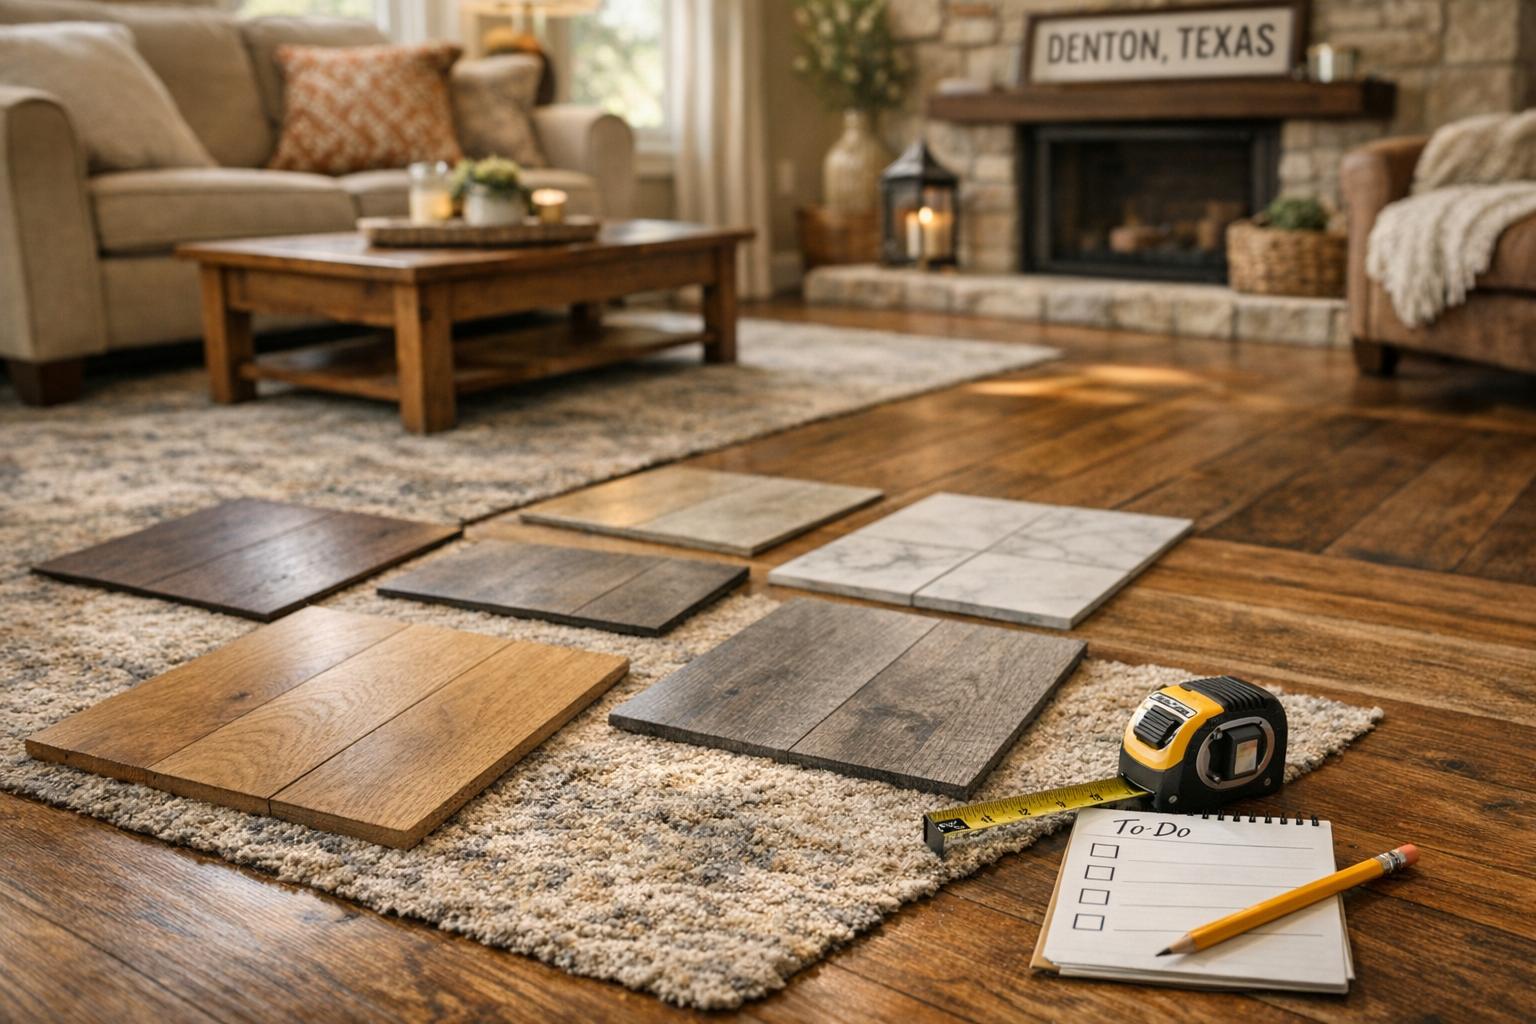
Place each of your three samples next to your cabinets or a painted wall, then set a pillow or throw blanket you already own beside it. If the sample suddenly looks “off,” you just saved yourself from an expensive mismatch.
Step 3: Check 3 Installation Details That Make or Break the Result
Even premium flooring can fail with poor installation. This is where the rule of 3 protects you the most—because the most common problems start underneath the visible surface or at the edges (transitions, expansion gaps, and moisture control).
Installation Detail #1: Subfloor prep (documented and priced)
Ask for prep to be described plainly. “Prep as needed” is not enough. You want to know what standard they’re installing to and how they handle typical issues like uneven slabs or squeaky subfloors.
- Leveling tolerances: What flatness do they require for your specific product?
- Patching and smoothing: Included or billed separately?
- Moisture testing: Do they test concrete slabs or check subfloor moisture content?
What many homeowners miss
Subfloor work isn’t “extra fluff.” It’s often the difference between a floor that feels solid and quiet versus one that clicks, bounces, or separates. If one quote is dramatically lower, check whether it quietly skipped this line.
Installation Detail #2: The system—floating vs. glue-down vs. nail-down
Different rooms (and different materials) perform better with different methods. Confirm:
- Install method: floating, glue-down, or nail-down—and why they recommend it for your home
- Underlayment: exact type and thickness; whether it includes a vapor barrier
- Transitions: where they will be placed (doorways, room breaks, height changes)
Installation Detail #3: Acclimation and expansion gaps (critical in Texas)
North Texas humidity changes can cause expansion and contraction in many flooring types. That doesn’t mean you can’t install wood or LVP—it means the installer must follow best practices.
- Acclimation plan: How long will the product sit in the home before installation (as applicable to the material)?
- Expansion gaps: How are gaps maintained at walls and fixed objects, and how are they covered (baseboards/trim)?
- Moisture plan: If moisture readings are high, what is the next step and what does it cost?
Three promises to get in writing: (1) workmanship warranty length, (2) what you must do to keep the product warranty valid, and (3) how punch-list issues are handled after the final payment.
A Quick Rule-of-3 Checklist for Denton, TX Flooring Projects
Use this as a simple pre-install checklist. If you can’t check these off, pause and get clarity before you sign or pay deposits.
Three quotes (scope completeness)
- Demo/haul-off included (or clearly excluded)
- Materials and labor clearly separated or clearly stated
- Underlayment specified by type
- Trim and transitions listed (and quantity/locations discussed)
- Subfloor prep has a line item, an allowance, or a written statement that none is needed
Three samples (seen in your space)
- Viewed in morning and evening lighting
- Placed next to cabinets/walls and near the room’s largest furniture piece
- Checked for undertone, grain/print scale, and sheen (matte vs. satin vs. glossy)
Three performance checks (for long-term satisfaction)
- Water resistance: spills, wet shoes, pet accidents
- Scratch/dent resistance: dogs, chairs, toys, kitchen traffic
- Maintenance: what you’ll do weekly/monthly and what cleaners are approved
Three installer questions (to reduce surprises)
- Who is on the crew and who is the on-site lead?
- What is the daily schedule and how will walkways/kitchens be handled?
- How do you price and communicate surprises (uneven concrete, damaged subfloor)?
Common Mistakes the Rule of 3 Helps You Avoid
The rule of 3 isn’t about being cautious—it’s about being accurate. Here are the most common flooring mistakes it prevents, especially for busy Denton households.
Mistake #1: Choosing a low bid that quietly skips essential prep
A suspiciously low quote often omits leveling, moisture barriers, or proper transitions. Those costs don’t disappear—they show up later as repairs, squeaks, visible gaps, or failing seams. When you get three bids with comparable scope, missing items become obvious.
Mistake #2: Falling in love with a showroom sample that fights your home’s lighting
Showrooms are designed to sell. Your house is designed to be lived in. Denton homes with abundant daylight can make cool grays feel colder; warm bulbs can make “neutral oak” go yellow. Comparing three samples at home helps you choose a color that stays attractive all day.
Mistake #3: Putting the wrong product in the wrong zone
Entryways, laundry rooms, and powder baths take more moisture and grit than most homeowners expect. The rule of 3 pushes you to evaluate room conditions (water exposure, traffic, expansion/contraction) before you commit.
Mistake #4: Accepting unrealistic timelines and unclear punch-list processes
Rushed installs can mean corners cut: inadequate acclimation, sloppy transitions, or incomplete trim finishing. A clear punch-list process (in writing) is one of the strongest signals you’re hiring a professional who plans to finish well.
A quick “sanity check” for decision confidence
If you’ve compared three quotes, three materials, and three install essentials, you can move forward knowing you’re not guessing—you’re choosing based on evidence.
Conclusion: Use the Rule of 3 to Choose Confidently in Denton
The rule of 3 is simple, but it’s powerful: compare three bids so price reflects real scope, compare three materials so your floor matches your lifestyle, and confirm three installation details so the finished result lasts. In Denton, where homes see big seasonal swings and active daily traffic, this approach helps you prioritize durability and installation quality—not just a low number on paper.
Next steps: start by picking your three material finalists, then gather three written quotes that match the same scope, and finally confirm subfloor prep, install method, and warranty/punch-list details in writing.
Use the Rule of 3 Before You Buy—It Can Save You Thousands
Gather three quotes, compare three material options, and confirm three installation essentials so your Denton, TX flooring upgrade looks great and lasts.
Start Your Rule-of-3 Checklist
Tip: Paste your three quotes into a single document and highlight what’s included vs. excluded. The best choice usually becomes obvious.